A Quick Start Guide to Integrating the Amplitude Android SDK
Walk through the process to download and integrate the Amplitude Android SDK into your application.
Browse by Category
This Quick Start Guide will walk you step-by-step through how to download and integrate the Amplitude Android SDK into your application. For a reference on events and sessions, read here. If you’re ready to get started, read on!
Step 1: Register for an Account
Start by registering for an account at https://amplitude.com/signup. Then, add an app in the top bar. Make sure it has a unique name. You will be assigned an API key which you’ll see as soon as you log in under Settings.

You’ll definitely want to record this key somewhere or set it as an environmental variable so you don’t have to constantly be referring back to this page.
Step 2: Download the .jar
First you need to download the analytics integration of Amplitude — get the .jar file here. Make sure to copy it into the libs folder in your Android project in Android Studio. This places it into a shared area that your executables can make use of when called.
We’ll pull examples from an Android Demo application of a tilt maze game to demonstrate how these steps are followed.
We see here how the amplitude-android-2.5.1-with-dependencies.jar file is in the libs folder.

If you are using a dependency manager, Amplitude supports Maven and Gradle.
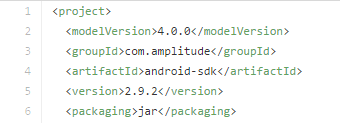
For Maven, the jar is available on Maven Central using the following configuration in your pom.xml:
<dependency> <groupId>com.amplitude</groupId> <artifactId>android-sdk</artifactId> <version>2.9.2</version> </dependency>
In the pom.xml file we find:

For Gradle, include in your build.gradle file:
compile 'com.amplitude:android-sdk:2.9.2'
In the demo, we see in the build.gradle file:

Step 3: Add Internet Permission
If you haven’t already, make sure to add the INTERNET permission to your manifest file so your app can access the internet.
<uses-permission android:name="android.permission.INTERNET" />
We see an example in the AndroidManifest.xml file:

Step 4: Add Amplitude to Analytics Files
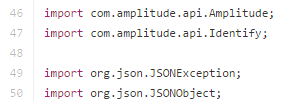
In every file that uses analytics, import com.amplitude.api.Amplitude at the top. These include files that contain event logic, user definitions or any data that you’d like to track and analyze.
This code will include the Amplitude framework into the file and allow Amplitude access to those analytics.
import com.amplitude.api.Amplitude;
In this GameEngine.java file we see:

Step 5: Initialize SDK
In the onCreate() where you initialize your main activity, you need to also initialize the SDK. This provides a central location for Amplitude to grab data to analyze from all activities in your app.
Amplitude.getInstance().initialize(this, "YOUR_API_KEY_HERE").enableForegroundTracking(getApplication());
In the TiltMazesActivity.java file we see:

NOTE: You need to make sure to make a Amplitude.getInstance().initialize() at every onCreate() entry point. If you have multiple entry or exit points, it’s important to cover every base so all activity is logged.
Great work! At this point you’ve integrated the SDK into your app and are ready to start tracking analytics. Read on below to dive deeper into how events are tracked and logged, along with other potential integration options you have.
Track Events
Events are defined as any user action taken within your app. Amplitude is an event-based analytics platform so it’s important to choose and track events strategically.
To track an event anywhere in the app, call:
Amplitude.getInstance().logEvent("EVENT_IDENTIFIER_HERE");
In this GameEngine.java file, when the Maze is completed an event is tracked:

Log Events
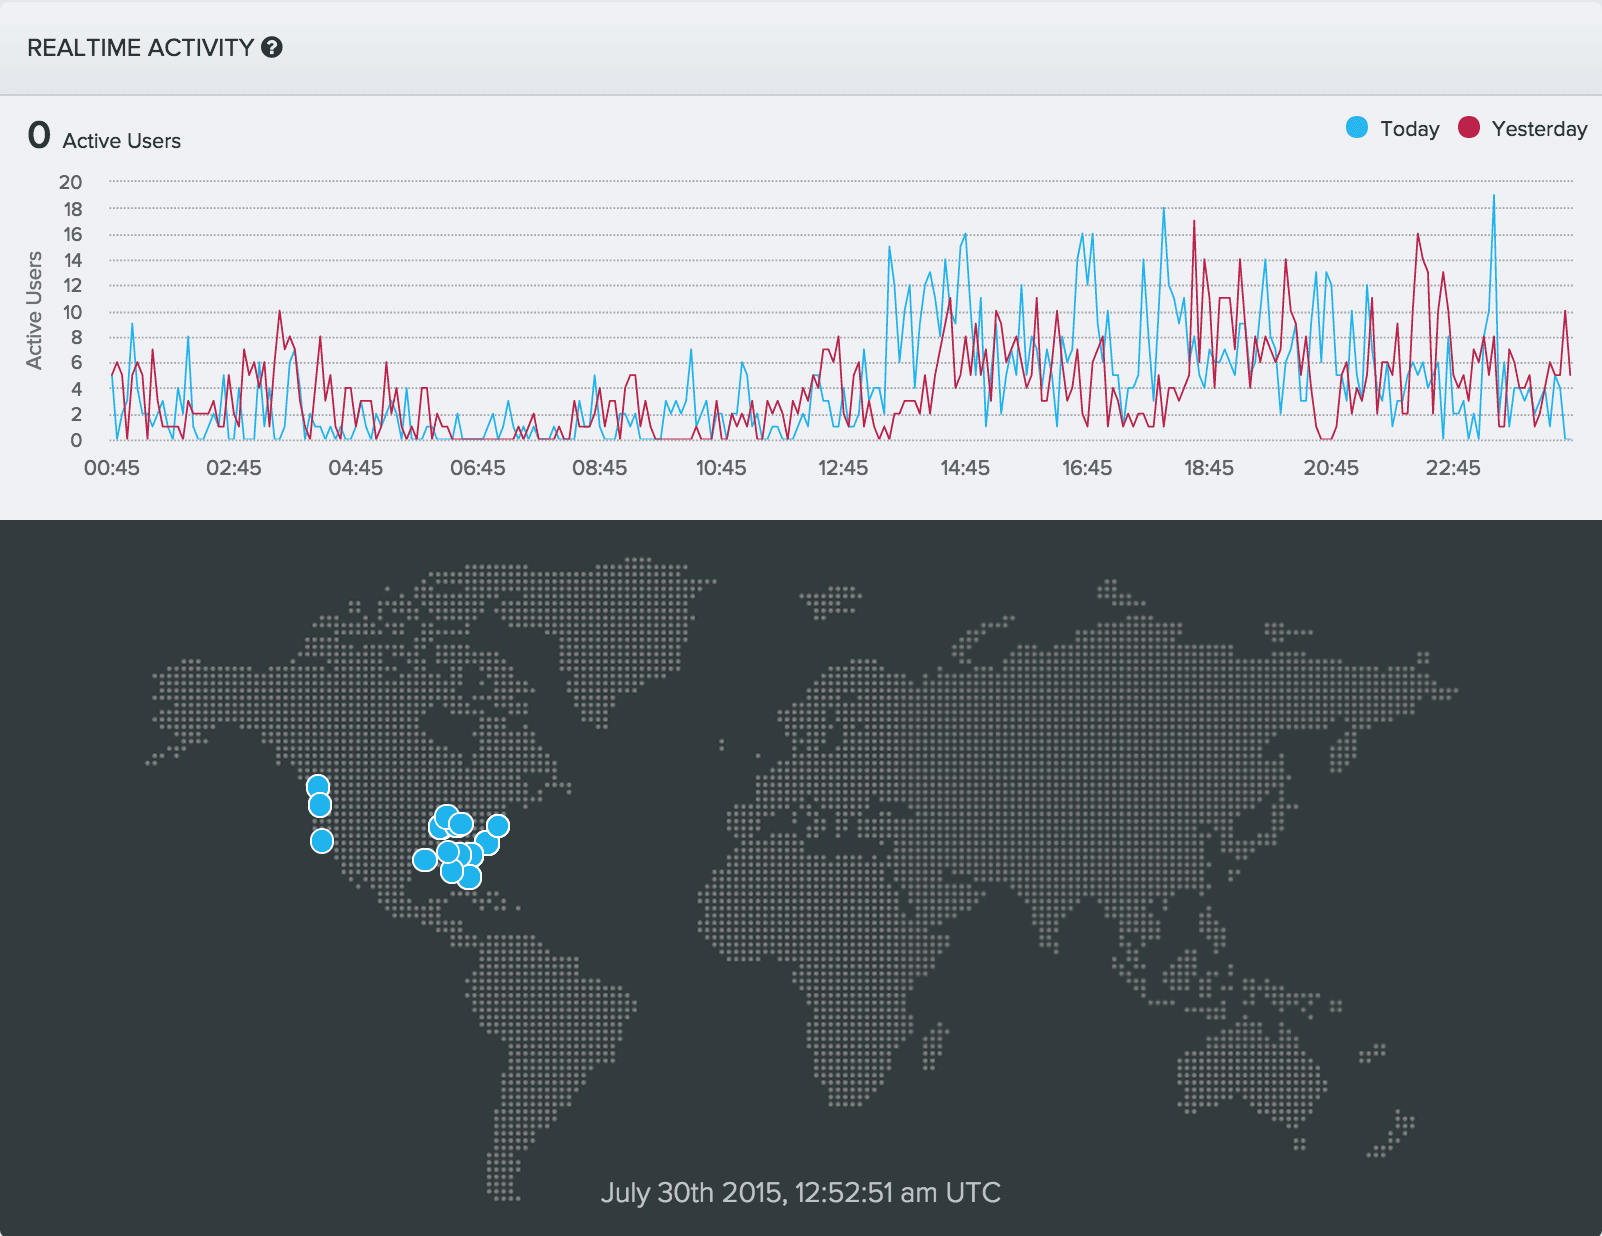
Events are saved locally. Uploads are batched to occur every 30 events and every 30 seconds, as well as on app close. You can track Realtime Activity to see how your recent active users are interacting with your app.

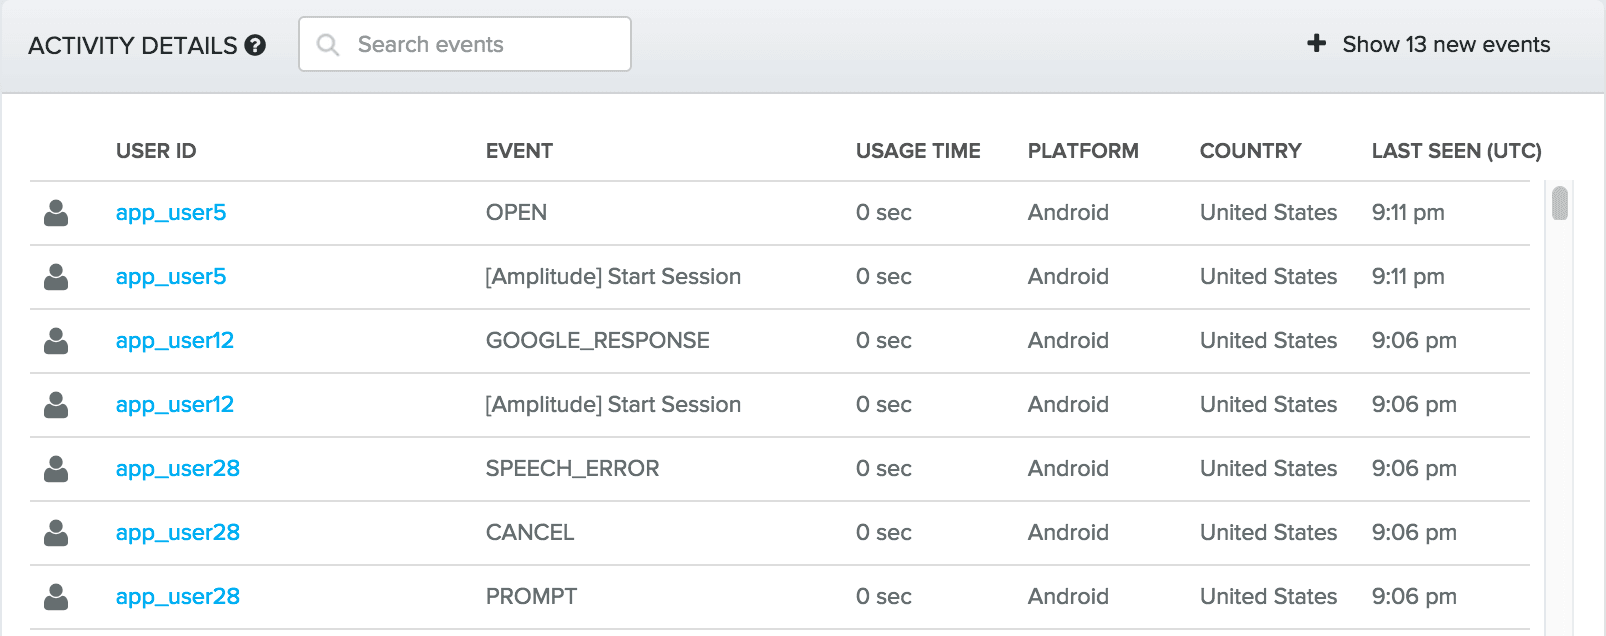
After calling logEvent() in your app, you will immediately see data appear on the Amplitude Website. As soon as a user logs an event, you can go into Activity Details to see what they’ve done.

NOTE: The default setting uploads unsent events when your app is minimized or closed to ensure that you don’t lose any potentially important data. This is a setting within the Activity Lifecycle onPause callback. To disable this behavior you can call Amplitude.getInstance().setFlushEventsOnClose(false); to prevent flushing of data when your app is closed.
Using ProGuard
If you are using ProGuard to help optimize your app, you need to add these exceptions to your proguard.pro file if you want to include Google Play Advertising IDs and Amplitude dependencies:
-keep class com.google.android.gms.ads.** { *; } -dontwarn okio.**
We see these exceptions added in the proguard-rules.pro file:
Using Google Advertising IDs
If you want to use Google Advertising IDs, make sure to add Google Play Services to your project. This requires:
1 – Downloading the Google Play Services SDK 2 – Adding a new build rule under dependencies in your build.gradle file apply plugin: 'com.android.application' ...
dependencies { compile 'com.google.android.gms:play-services:9.6.1' }
3 – Saving the changes and clicking Sync Project with Gradle Files in the toolbar
Google Advertising IDs are useful for providing a unique, anonymous ID for advertising, provided by Google Play services. You can use this ID as the device ID by calling Amplitude.getInstance().useAdvertisingIdForDeviceId() prior to initializing.
To see what Device ID Amplitude is using, call Amplitude.getInstance().getDeviceId(). If there is no Device ID generated yet, this will return null.

Archana Madhavan
Senior Learning Experience Designer, Amplitude
Archana is a Senior Learning Experience Designer on the Customer Education team at Amplitude. She develops educational content and courses to help Amplitude users better analyze their customer data to build better products.
More from Archana


